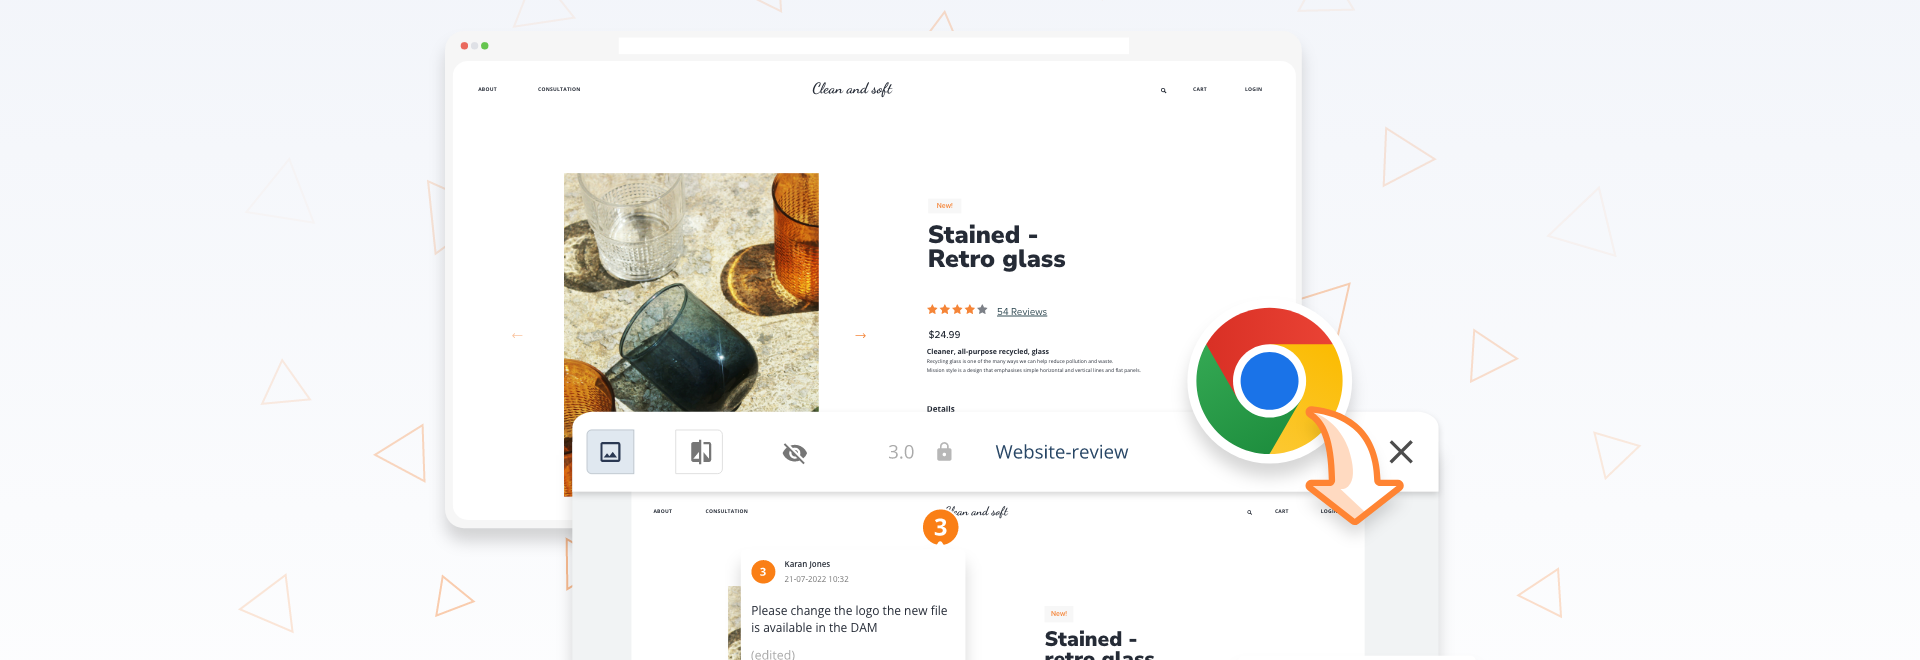
Annotate your website as part of your marketing workflow
David Leaney
4 min read

Easily annotate HTML or URL links within Encode Proofing with support from our newly-released Chrome and Microsoft Edge Browser Extension.
How to annotate your website as part of your marketing workflow?
In today's digital age, it's crucial to be able to review and proof marketing content directly on your website to ensure that everything is accurate and up to date. We saw a rising need for a tool that could provide proofing now on-site when creating ads, campaigns and other marketing-related content. Therefore we developed an extension to our proofing tool to better support our customer's needs for digital review. The extension tool is supported in all browsers.
But how does it work?
Step 1: Install the Chrome browser extension.
To get started, you'll need to install the Encodify Chrome browser extension from the Google Web Store (Get the extension here). This extension is free to use if you subscribe to Encodify Proofing.
Step 2: Access the annotation tool
Once you've installed the extension, you'll see a new Encodify icon in your Chrome browser.
Step 3: Select the page to annotate
Next, navigate to the page on your website that you want to annotate. Copy the URL and bring it to the Encodify proofing tool. Instead of uploading an image, choose the URL function and paste the copied link. This function will generate a file you can proof like you usually would.

Except this is live, it takes live data from the site you have pasted. We also support website annotations via directly uploaded HTML files and zipped HTML files uploaded to your Encodify platform
Step 4: Add annotations
Now, you can begin adding annotations to the page. Click on the area of the page that you want to annotate, and a text box will appear. Type in your annotation and click "Save" to add the comment to the page. You can use the toolbar at the bottom to change colours and add figures, even arrows, to further enrich your remarks as you annotate.
Step 5: Auto-generated screenshot
Once you've annotated the page, the tool auto-generates a screenshot attachment that includes your annotation. This ensures that even though changes are made on the live site, you always have an image from when you made the annotation.
Step 6: Review and approve annotations
Now that you've annotated your website and generated a screenshot attachment, it's time to review and approve the annotations. Use the approval tool as you usually would to put it through the workflow for your team or stakeholders to review. Once everyone has approved the annotations, you can implement any necessary changes to the website.

Don't let proofing slow you down:
Whether you're creating ads, campaigns, or other marketing materials, this tool is a great way to review and proof your content. If you have any questions or need further assistance, don't hesitate to contact our team at Encodify. We're here to help you streamline your marketing operations and keep your creative process running smoothly.


